Starting an online store in 2025 has never been more accessible or more exciting. With global e-commerce sales expected to hit new records and tools becoming easier to use, there is no better time for beginners to launch an online store. Whether you want to sell handmade products, dropship trending gadgets, or build a full-fledged ecommerce brand, today’s technology makes it possible without needing coding skills or a huge budget.
But here is the catch: many beginners get overwhelmed by all the platforms, tools, and decisions involved. That is where this step-by-step guide comes in. We will walk you through everything from choosing a niche and selecting the best ecommerce platform to setting up your online shop and marketing your products so you can avoid common mistakes and build a successful online business from the ground up.
Whether you are a stay-at-home, a side hustler, or someone dreaming of financial freedom through e-commerce, this guide is designed with complete beginners in mind to create an Online Store. Let’s get started on turning your idea into a profitable online store in 2025!
Steps to create an Online Store in 2025
Step 1: Choose a Profitable Niche
Before you dive into building your store, you need to figure out what you are going to sell and who you are selling to. This is called your niche. Picking the right niche sets you up for success and helps you stand out in a crowded market.

What Is a Niche?
A niche is simply a specific slice of the market where you focus your products.
Example: Instead of “pet supplies,” your niche could be “eco‑friendly dog toys”.
Why Your Niche Matters?
- Less Competition: Big stores sell everything. A focused niche means fewer direct rivals.
- Clear Marketing: It is easier to speak directly to your ideal customer (e.g., dog owners who care about the environment).
- Expert Status: Customers trust specialized sellers. If you are the “organic dog toy” shop, you will seem more credible than an “all‑around pet store.
How to Find a Profitable Niche?
- Solve a Problem
- Good niches fix a pain point. Ask: “What is missing in this market?”
- Example: Many people struggle with cluttered cables. “Magnetic cable organizers” solve that.
- Check Demand with Simple Tools
- Google Trends: See if people are searching for your idea over time.
- Amazon Best Sellers: Spot top‑selling items in your category.
- Layman’s tip: Type “best dog toys 2025” into Google Trends if the line goes up, interest is rising!
- Validate with Quick Research
- Search for your idea on Amazon or Etsy. How many products are listed? How many reviews do they have?
- If you find dozens of products with thousands of reviews, you know people buy them.
Real‑World Examples
- Eco‑Friendly Kitchenware
- Niche: Bamboo cutlery sets & beeswax food wraps
- Why it works: Rising awareness around plastic waste; eco‑minded shoppers want sustainable swaps.
- At‑Home Fitness Accessories
- Niche: Adjustable resistance bands for small spaces
- Why it works: Pandemic‑era habits stuck—people want compact gear to stay fit at home.
- Tech Organizers for Travelers
- Niche: Waterproof tech pouches with built‑in cable holders
- Why it works: Frequent flyers need durable, organized solutions for chargers and phones.
- Personalized Gifts
- Niche: Custom pet portraits on wood plaques
- Why it works: Pet owners adore unique keepsakes; personalized items command higher prices.
Step 2: Research the Market & Understand Your Audience
Once you have chosen your niche, it is time to dig deeper into the market. This step helps you understand who your ideal customer is, what they want, and how to make your store stand out.

What Is Market Research?
Market research is like being a detective. You look at what other stores are doing, what customers are saying, and where there are opportunities or gaps.
Layman’s example: Imagine opening a burger shop. You would first look at nearby burger joints, what they offer, how much they charge, and what people like/dislike about them
How to Do Competitor Analysis?
Studying your competitors gives you a roadmap of what works and what doesn’t.
These are the steps to Analyze Competitors:
- Search Google or Amazon for your product idea.
- Look at the top 3–5 stores or listings.
- Example: Selling “organic baby clothes”? Check what top-selling Etsy or Shopify stores offer.
Study their products
- What products are most popular?
- What’s their pricing strategy?
- Are there upsells or bundles?
Check reviews
- What do customers love? (Use that as inspiration)
- What do they complain about? (That’s your opportunity)
Tools to Help:
- Amazon: Check “best sellers” and read reviews.
- Google Shopping: See how other stores price the same item.
- Facebook Ads Library: View competitors’ ads.
Know Your Target Customer
Understanding who you are selling to helps you create products, content, and marketing that speak directly to them.
Ask These Questions:
- What is their age, location, and income?
- What problems are they trying to solve?
- Where do they hang out online (Instagram, YouTube, Reddit)?
- What kind of words do they use to describe their pain points?
Spot Gaps in the Market
You don’t need to reinvent the wheel, just fill in what’s missing
Look for:
- Poor customer reviews: “This product broke in a week!” Can you offer something of better quality?
- Boring product designs: All the shirts look the same. Add creative prints or personalization options.
- No local seller: Customers complain about long shipping times. Sell in your region with faster delivery.
Real-World Example
Let’s say you want to sell eco-friendly lunch boxes.
- You find top sellers on Amazon, but most reviews complain that the lids leak.
- Reddit users ask, “Why don’t more stores make stackable, leakproof boxes with compartments?”
- You dig deeper and find that college students want stylish lunch boxes that fit in backpacks.
Result: You target eco-friendly, leakproof, backpack-sized lunch boxes for students, with cool colors and fast shipping.
Step 3: Choose Your Business Model
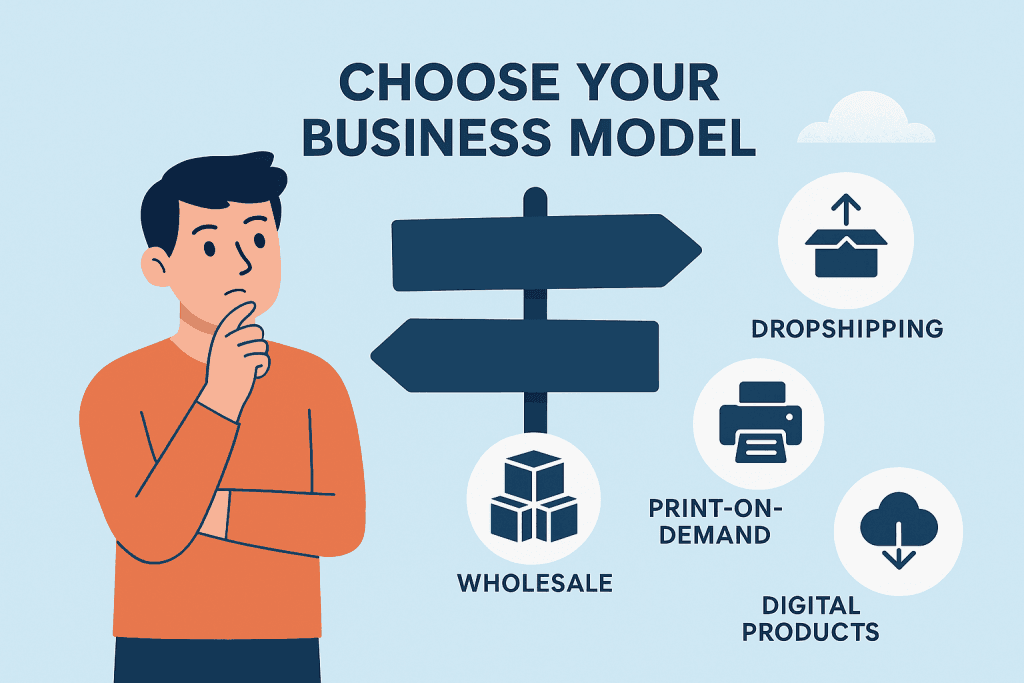
Choosing the right business model is one of the most important decisions when starting your online store. It affects how you manage inventory, fulfill orders, and make money. Don’t worry, it is not as complicated as it sounds.
What Is a Business Model?
A business model is just the way your store operates and earns money.
- Layman’s example: Think of a food business.
- One person cooks and sells from home (low cost, made-to-order).
- Another runs a restaurant (more overhead, full control).
- A third person delivers food made by others (no cooking, just logistics).
Online stores work similarly. Some models need inventory, some don’t.
Common E-commerce Business Models (With Examples)
Let’s break down the most popular ones:
1. Inventory-Based Model
You buy products in advance, store them yourself (or in a warehouse), and ship them when someone places an order. Need space for storage and time for shipping.
Example: You buy 100 handmade candles in bulk, store them at home, and ship each one manually.
Best for: People who want full control and are ready to manage inventory.
Advantage:
- Full control over quality, branding, and packaging.
- Higher profit margins
Disadvantage:
- Upfront investment in stock.
- Need space for storage and time for shipping.
2. Dropshipping
You don’t store or ship anything yourself. When someone buys from your store, a third-party supplier ships the product directly to the customer. Easy to start and scale.
Example: A customer orders a phone case from your website. You forward the order to your supplier, who ships it directly to the customer.
Best for: Beginners with a limited budget who want to start quickly.
Advantage:
- No need to buy stock upfront
Disadvantage:
- Lower profit margins.
- Less control over shipping speed and quality
3. Print-on-Demand (POD)
A form of dropshipping where products like T-shirts, mugs, or posters are custom-printed after someone places an order.
Example: You design a funny quote for a T-shirt. When someone orders it, a POD service like Printful prints and ships it under your brand.
Best for: Creatives who want to sell custom products without holding inventory.
Advantage:
- Sell custom designs with no upfront cost
- Great for artists, designers, and creators
Disadvantage:
- Margins can be low
- Limited product types
4. Digital Products
Sell downloadable or online items like eBooks, templates, courses, or music.
Example: You sell a WordPress theme, an Excel budget template, or an online course about dog training.
Best for: Bloggers, educators, designers, or anyone with digital skills.
Advantage:
- No inventory, no shipping.
- 100% profit after creation.
Disadvantage:
- Requires content creation upfront.
- Piracy can be an issue.
5. Subscription Model
Customers pay monthly or yearly for a product or service.
Example: Monthly delivery of healthy snacks, or access to a paid members-only content library.
Best for: Niches with repeat-use products or educational content.
Advantage:
- Predictable income.
- Builds customer loyalty.
Disadvantage:
- Requires regular content or product updates.
- More complex to set up.
How to Choose the Right Model (Step-by-Step)
You need to ask yourself these questions.
- Do I want to manage inventory?
- Yes → Try an inventory-based or subscription model.
- No → Consider dropshipping, POD, or digital products.
- Do I want to sell physical or digital goods?
- Physical → Dropshipping, Inventory-based, POD
- Digital → eBooks, templates, or courses
- What is my budget to get started?
- Low budget → Dropshipping or POD
- Medium budget → Inventory or digital products
- Higher budget → Subscription boxes or your stock
Step 4: Pick a Business Name and Register a Domain
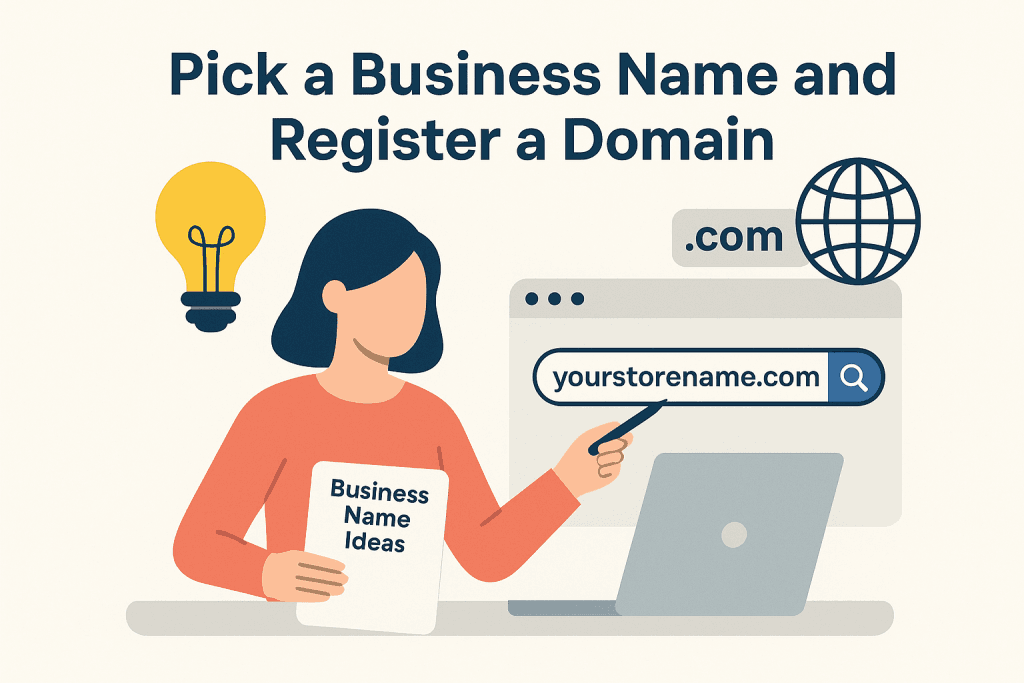
Now that you have chosen your niche and business model, it is time to give your online store a name, just like naming a shop in the real world. Your business name and domain are the first things people will see, so make them memorable and brandable.
Before we dive into the tips, check out our complete guide on how to pick the perfect business name and register a domain, so you start with a strong foundation.
How to Choose a Business Name
Your business name should be:
- Relevant to your niche
- Easy to remember and spell
- Unique enough to stand out online
Tips to Choose a Great Name:
- Use words related to your niche (e.g., “EcoTote” for eco-friendly bags).
- Combine two simple words (like “Glow” + “Nest” = Glownest).
- Avoid complicated spellings or hyphens.
Step 5: Choose an E-commerce Platform
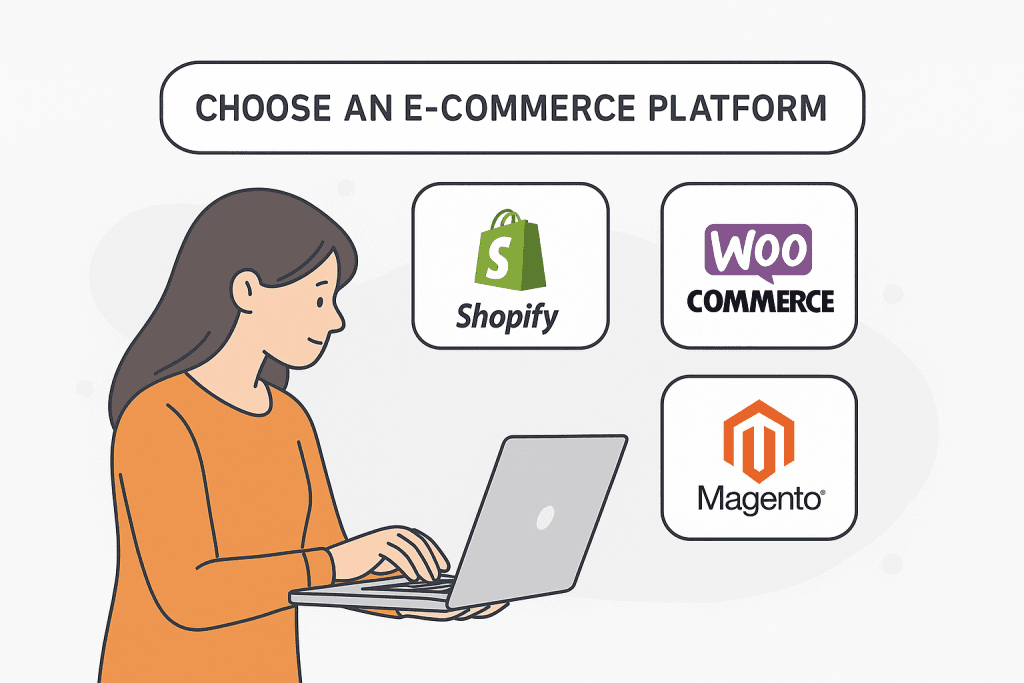
After naming your store and securing your domain, it is time to build your online shop, and for that, you need an e-commerce platform. This is the software that lets you create your store, list products, take payments, and manage orders.
Think of it as the foundation of your online business—your virtual storefront.
What Is an E-commerce Platform?
An e-commerce platform is a tool that helps you:
- Build your website without needing to code
- Upload and organize your products
- Accept payments (credit cards, PayPal, etc.)
- Handle orders, customers, and shipping
Best E-commerce Platforms for Beginners (with Pros & Cons)
Here are the most popular and beginner-friendly platforms:
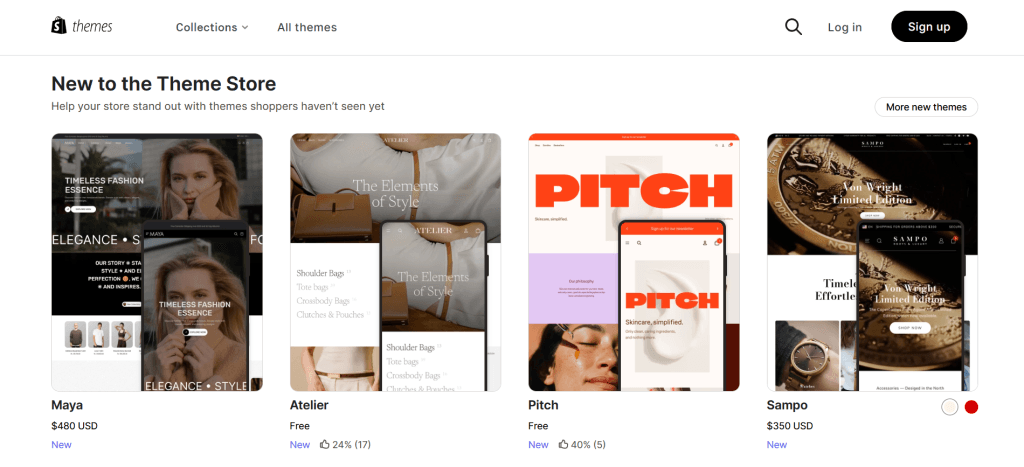
1. Shopify
A fully hosted platform is great for beginners who want a professional store quickly.
Best for: Dropshipping, small-to-medium stores, and those who want an easy start.
Advantage:
- Easy drag-and-drop builder.
- Fast, secure, and optimized for sales.
- Built-in payment system.
Disadvantage:
- Monthly fee ($29+)
- Limited design flexibility unless you use paid apps/themes
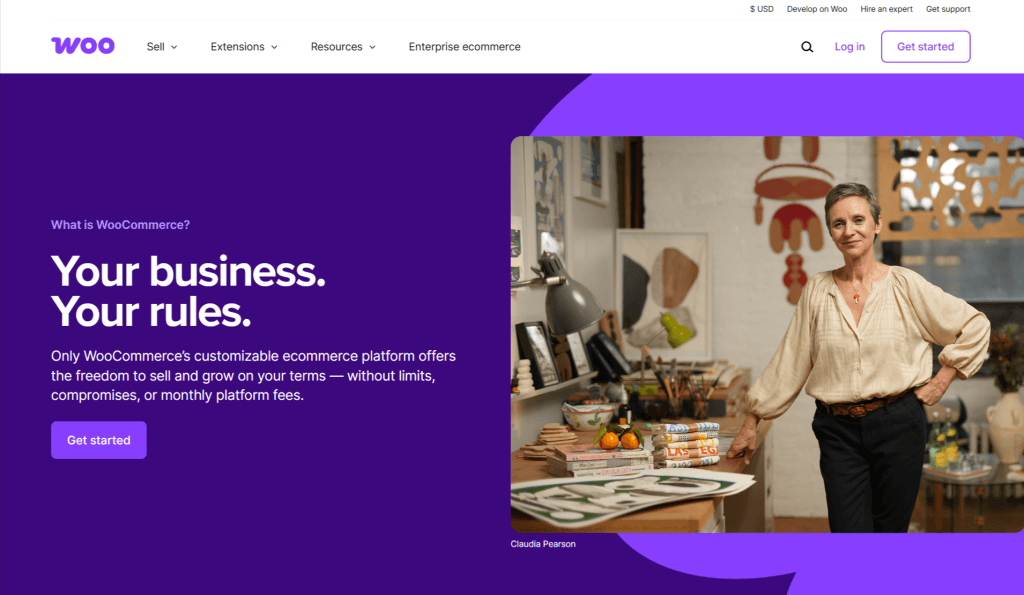
2. WooCommerce (WordPress)
A free WordPress plugin that turns your website into an online store.
Best for: Bloggers, digital product sellers, and users who want full control.
- Pros:
- 100% customizable
- Great for SEO and blogging
- You own your site completely
- Cons:
- Slight learning curve
- You’ll need to manage hosting and security yourself
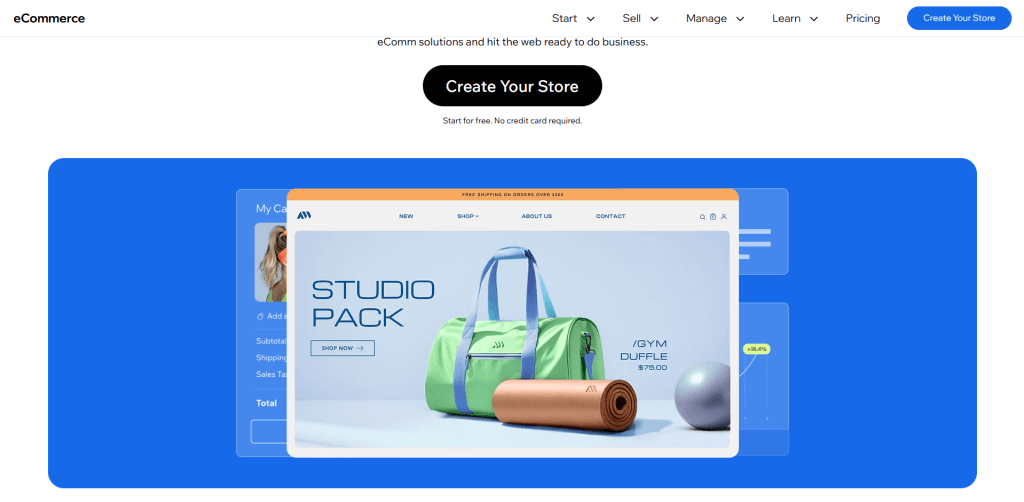
3. Wix eCommerce
An all-in-one website builder with e-commerce capabilities.
Best for: Creatives, artists, or small product catalogs.
Advantage:
- Simple drag-and-drop design.
- Beautiful templates.
Disadvantage:
- Less scalable for larger stores.
- Limited flexibility compared to WooCommerce or Shopify.
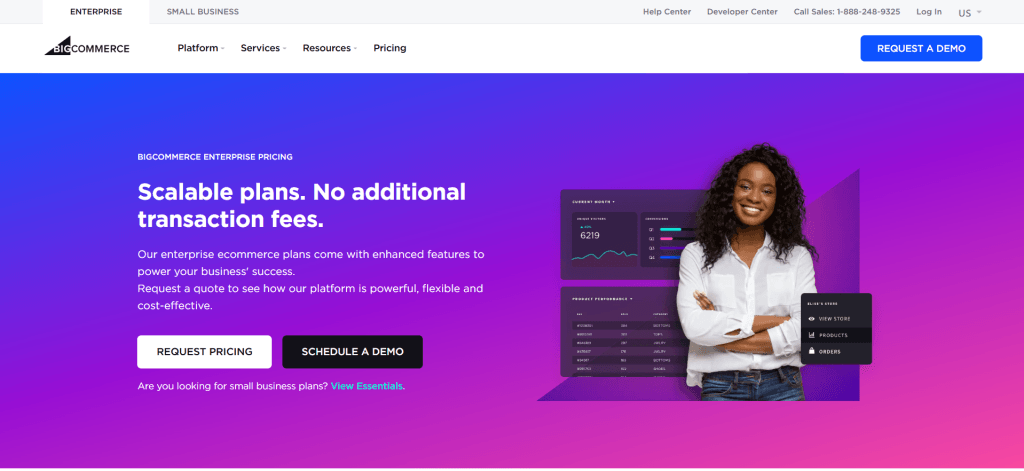
4. BigCommerce
A powerful e-commerce platform built for scaling.
Best for: Businesses ready to scale or with larger inventories.
Advantage:
- No transaction fees.
- Great for growing stores with many products.
Disadvantage:
- Slightly more complex interface.
- Pricing based on sales volume
Factors to Consider When Choosing a Platform
Ask yourself:
- Do I want full control (WooCommerce) or ease of use (Shopify)?
- Do I plan to blog or grow SEO traffic?
- What is my monthly budget?
- Do I need specific features like digital downloads or dropshipping integration?
Step 6: Set Up Your Online Store
Once you have chosen your e-commerce platform, it is time to build and design your online store, the virtual space where people will browse, shop, and (hopefully) buy! This step is where your business starts to look and feel real.
Don’t worry, you don’t need to be a designer or coder. Most platforms (like Shopify, WooCommerce, and Wix) offer drag-and-drop builders and ready-to-use themes to make the process easy
Step 1:Choose a Theme or Template
A theme controls how your website looks, colors, layout, fonts, and more.
- Free vs. Paid Themes: Most platforms offer both. Free themes are a great place to start, but premium themes usually look more professional and offer more customization.
- Look for: Clean layout, mobile responsiveness, fast loading time, and customization options.
Example: If you’re selling handmade jewelry, opt for a clean and elegant theme that showcases your product photos.
Step 2:Customize the Look of Your Store
Use the platform’s editor to change:
- Colors and Fonts to match your brand
- Homepage layout (sliders, featured products, banners)
- Navigation menu (make it easy to browse categories)
- Header and Footer (include logo, contact info, social links)
Tip: Stick to 2–3 brand colors and one or two fonts for a clean and professional look.
Step 3: Add Important Pages
Besides your product pages, your store should have:
- Home Page – Your shop’s welcome mat.
- About Us – Tell your story and build trust.
- Contact Page – Make it easy for customers to reach you.
- Shipping & Returns Policy – Helps reduce confusion and builds confidence.
- FAQs Page – Answer common questions about your products or process.
Bonus: Add a blog if your platform allows, great for SEO and sharing updates.
Step 4: Add Your Products
Now add the actual items you will sell!
For each product, include:
- Clear Product Title
- High-quality Images (multiple angles if possible)
- Detailed Description (mention size, materials, usage, etc.)
- Price and Discount (if any)
- Inventory info (stock levels, variants like color/size)
Use white backgrounds for product photos. Tools like Canva or Remove.bg can help make your product photos look professional.
Step 5: Set Up Payments
Choose how your store will accept money:
- Popular options: PayPal, Stripe, credit/debit cards.
- Most platforms guide you through this with built-in options.
Tip: Always test a transaction before going live to make sure everything works smoothly.
Step 6: Set Up Shipping Rules
- Decide: Will you offer free shipping, flat rate, or real-time rates?
- Set delivery zones and time estimates
- Add tracking integration (optional, but helps build trust)
Example: Free shipping in your country, and a flat $10 fee for international orders.
Step 7: Add Your Products
Your store is now live and looking great! It is time to add the most important part: your products. The way you present your products can make or break a sale, especially for online shoppers who can’t touch or try them.
Let’s go step by step to make your product pages engaging, informative, and conversion-friendly.
Step 1:Write Clear, Compelling Product Titles
Your product title should quickly tell the buyer what the item is.
Do:
- Be specific (e.g., “Handmade Macrame Plant Hanger – 3 Feet”)
- Mention key features like material, size, or use
Don’t:
- Use vague titles like “Awesome Product 1”
Step 2: Create Informative Product Descriptions
This is where you convince the customer to buy. Make it descriptive, but easy to read.
Include:
- What the product is
- Who is it for
- How it’s used
- Key benefits and features
- Materials, size, or care instructions
Example:
Instead of “Soft cotton T-shirt,” write:
“Stay cool and comfortable in our 100% organic cotton T-shirt—designed with a relaxed fit and breathable fabric, perfect for everyday wear.”
Step 3: Use High-Quality Product Images
Online, photos sell, so don’t compromise here.
Tips:
- Use bright, clear photos with a neutral background
- Show the product from multiple angles
- Include zoomed-in shots for details
- Add lifestyle images (e.g., someone using or wearing the product)
Tools: Use Canva, Remove.bg, or even your smartphone with good lighting for product photos.
Step 4: Set the Price (and Discounts)
Price your product based on:
- Cost of goods
- Competitor pricing
- Value what you’re offering
You can also add:
- Sale price or limited-time offers
- Product bundles or quantity discounts
Step 5: Organize Products with Categories & Tags
Make it easy for visitors to find products by:
- Creating categories (e.g., “Men’s Shoes,” “Home Decor”)
- Using tags like “eco-friendly,” “handmade,” “under $20”
Bonus: This improves your site navigation and SEO.
Step 6: Add Variants (if needed)
If your product comes in multiple sizes, colors, or styles, add variants so customers can choose easily.
Example: A T-shirt available in S, M, L, XL, and in 3 colors. Add dropdowns for selection.
Step 7: Display Shipping & Return Info
People want to know:
- How long will it take to arrive
- Whether they can return it if needed
Include a small shipping note or return policy section on your product pages or link to your main policy page.
Step 8: Set Up Payments and Shipping
Now that your store has products, it is time to get paid and deliver orders. This step covers how to accept payments online and how to configure your shipping settings, two essentials to run a smooth and trustworthy online store.
Step 1: Set Up Payment Methods
Customers expect secure, fast, and flexible payment options. Most e-commerce platforms (like Shopify, WooCommerce, Wix, etc.) offer built-in integrations with major payment gateways.
Popular Payment Gateways:
- Stripe (credit/debit cards)
- PayPal
- Square
- Apple Pay / Google Pay
- Cash on Delivery (for local or regional stores)
Tip: Enable multiple options to increase your chances of getting sales.
How to Set Up:
- Go to your e-commerce platform’s payment settings
- Choose the gateways you want to offer
- Link them to your business bank account
- Test a payment to ensure everything works smoothly
Example: On Shopify, you can enable Shopify Payments (powered by Stripe) in just a few clicks.
Step 2: Set Up Shipping Options
Shipping setup depends on:
- Where are you delivering
- What kind of products are you selling
- Your budget and margins
Shipping Methods You Can Offer:
- Free Shipping (great for marketing)
- Flat Rate Shipping (e.g., $5 per order)
- Real-Time Carrier Rates (based on weight and location, from UPS/FedEx/DHL)
- Local Pickup/Delivery (for local businesses)
Example: If you sell handmade items only in your country, a flat rate or free shipping is easiest to manage.
Step 3: Calculate Shipping Costs
To avoid losing money:
- Consider product weight, packaging, and destination
- Use tools like Shippo, Easyship, or your courier’s calculator
Tip: Add shipping cost to your product price to offer “free shipping”—customers love it.
Step 4: Add Delivery Info to Your Store
Be transparent about:
- Estimated delivery time (e.g., “3–5 business days”)
- Shipping zones (where you deliver)
- Return and refund policies
Add this info on:
- A dedicated Shipping & Returns page
- Product pages or checkout pages
Step 9: Launch Your Online Store
You have set up your products, payments, and shipping. Great job! Now it is time to launch your online store and go live to the world. But before you hit that “Publish” button, it’s important to run a final checklist to make sure everything looks professional and works smoothly.
Step 1: Do a Final Walkthrough
Go through your website like a customer would. Check:
- Homepage – Is your branding, headline, and CTA (Call to Action) clear?
- Product pages – Are titles, descriptions, prices, and images correct?
- Navigation – Can users easily browse categories and pages?
- Mobile view – Does your store look good on smartphones?
Tip: Use your phone and a friend’s computer to test different devices.
Step 2: Test the Full Buying Process
Before inviting the world, make a test purchase:
- Add a product to the cart.
- Go through checkout
- Use a real payment method (or test mode if your platform allows)
- Confirm that you receive an order confirmation email
This ensures that:
- Payment is working
- Shipping cost is calculated correctly
- Your order system is running smoothly
Step 3: Set Up Google Analytics & Facebook Pixel
Track who visits your site and where they come from. Use:
- Google Analytics – for detailed traffic data
- Meta Pixel – to retarget visitors with ads on Facebook & Instagram
These tools help you optimize marketing later on.
Step 4: Add a Live Chat or Contact Option
Make it easy for visitors to ask questions. You can:
- Add a Contact Us page with email/phone
- Use live chat tools like Tidio, Chatra, or WhatsApp integration.
Step 5: Launch with a Bang
Now that your store is ready, let people know about it!
Announce Your Launch:
- Share on Instagram, Facebook, Twitter, and Pinterest
- Email friends, family, and your contact list
- Join Facebook groups, Reddit, or forums relevant to your niche
- Offer a launch discount or free shipping for your first customers
- Example: “We’re live! Use code LAUNCH10 to get 10% off all items this week only!”
Step 10: Marketing Your Store in 2025
Now that your store is live, your job isn’t done; it is just beginning! In 2025, digital marketing is the key to getting traffic, building trust, and making consistent sales. Whether you are on a tight budget or ready to invest, here is how to promote your store effectively.
Step 1: Use Social Media Marketing
Platforms like Instagram, TikTok, Facebook, and Pinterest are powerful for showcasing products.
Tips:
- Post high-quality photos/videos of your products in use
- Use reels, stories, and lives for engagement
- Share behind-the-scenes, packaging, or customer shoutouts
Example: A handmade candle store could post a 15-second reel showing how the candle is poured, packed, and glows in a cozy setup.
Step 2: Start Email Marketing Early
Build an email list from Day 1 using a signup form or pop-up offering a discount.
Use tools like Mailchimp, Klaviyo, or MailerLite to:
- Send welcome emails
- Share product updates
- Offer exclusive deals
Example: “Get 10% off your first order – sign up now!”
Step 3: Focus on SEO (Search Engine Optimization)
SEO helps your store rank in Google search results. Optimize:
- Your product titles and descriptions
- Meta titles & descriptions
- Blog posts around topics your audience searches
Example Keywords: “best eco-friendly yoga mats,” “affordable handmade jewelry USA”
Also, interlink related blog posts or product pages (like the one you wrote on choosing a domain name).
Step 4: Run Paid Ads (Optional)
Once you get some traction, consider investing in:
- Facebook & Instagram Ads – Great for visual products
- Google Shopping Ads – Show your product when someone searches
- Pinterest Ads – Ideal for home decor, fashion, lifestyle products
Start with a small daily budget ($5–$10) and test different creatives.
Step 5: Use Influencer & Affiliate Marketing
Partner with micro-influencers in your niche. They have loyal followers and are cost-effective.
Also consider:
- Creating an affiliate program to reward people who bring you sales
- Using platforms like UpPromote or Refersion
Step 6: Build a Blog (Great for SEO & Trust)
Create blog posts around your niche to:
- Answer common questions
- Share tips, guides, and product care advice
- Build authority in your market
Example: If you sell skincare products, write: “How to Build a Simple Skincare Routine in 2025”
Step 7: Collect and Display Customer Reviews
Positive reviews build trust and boost conversions. Encourage buyers to leave feedback and showcase it on your site.
Use tools like:
- Judge.me, Loox, or built-in review features on Shopify/WooCommerce
Step 11: Track, Analyze & Grow
Your store is live, and your marketing is in motion, but how do you know what is working and what is not? This step is all about using data to grow smarter. In 2025, successful online stores rely heavily on analytics, feedback, and optimization to increase traffic, sales, and customer satisfaction.
Step 1: Set Up Analytics Tools
You need the right tools to measure your store’s performance.
Must-Have Tools:
- Google Analytics 4 (GA4) – Tracks traffic, behavior, and conversions
- Meta (Facebook) Pixel – Tracks ad performance and helps with retargeting
- Hotjar or Microsoft Clarity – See heatmaps and session recordings to understand how users interact with your store
- E-commerce Platform Dashboard – Shopify, WooCommerce, etc., offer built-in sales and traffic insights
Step 2: Track Key Performance Metrics (KPIs)
Focus on numbers that matter to your growth:
Essential KPIs:
- Traffic – How many people visit your site?
- Conversion Rate – What % of visitors make a purchase?
- Bounce Rate – Are people leaving without exploring?
- Average Order Value (AOV) – How much does a customer spend per order?
- Customer Acquisition Cost (CAC) – How much are you spending to get a sale?
- Repeat Purchase Rate – Are customers coming back?
Example: If your conversion rate is low, maybe your product pages need better images or descriptions.
Step 3: Use Customer Feedback to Improve
Don’t guess what your customers want, just ask them.
Collect:
- Product reviews
- Post-purchase surveys (e.g., “What made you buy today?” or “Was anything confusing?”)
- Social media comments and DMs
Then use that feedback to fix problems or add features customers want.
Step 4: A/B Test Everything
Small tweaks can make a big difference. Try A/B testing:
- Product page layouts
- CTA button colors/text
- Pricing strategies
- Email subject lines
Tools like Google Optimize, Optimizely, or even your e-commerce platform may support simple tests.
Step 5: Grow Through Retention & Loyalty
It’s 5x cheaper to retain a customer than to acquire a new one.
Growth Tips:
- Start a loyalty program or offer discounts for repeat buyers
- Launch email flows for abandoned carts, thank yous, and re-engagement
- Encourage referrals (e.g., “Give $5, Get $5”)
Common Mistakes to Avoid
Even with the best intentions, new store owners often make avoidable mistakes. Here are the most common ones—so you can sidestep them and build a smoother path to success in 2025:
1. Skipping Market Research
Don’t assume your product will sell just because you like it.
Always research your competitors, check demand, and understand your audience before investing time or money.
2. Choosing the Wrong Niche
Avoid overly broad or saturated markets.
Start with a specific and profitable niche where you can stand out, rather than trying to sell everything to everyone.
3. Poor Product Photos & Descriptions
Low-quality visuals kill conversions.
Use clear, high-resolution images, and write compelling, benefit-driven product descriptions that answer customer questions.
4. Overcomplicating the Store Design
A cluttered, confusing website drives customers away.
Keep your layout clean, mobile-friendly, and easy to navigate. Avoid unnecessary plugins or popups.
5. Not Optimizing for Mobile
Over 70% of e-commerce traffic comes from mobile devices.
Always test your store on smartphones and tablets, and make sure checkout works flawlessly.
6. Ignoring SEO
If your store can’t be found, it won’t make sales.
Use keywords naturally in your product titles, descriptions, URLs, and blog content to rank in search engines.
7. Not Testing Before Launch
Launching without testing = recipe for disaster.
Always do a test order, check payment/shipping settings, and fix broken links or typos before going live.
8. Underestimating Marketing
Build it and they will come? Not true.
You need a clear marketing strategy social media, email, SEO, and paid ads, to drive consistent traffic to your store.
9. Failing to Track Performance
You can’t grow what you don’t measure.
Set up Google Analytics, Facebook Pixel, and track KPIs to make smarter business decisions.
10. Giving Up Too Soon
Success doesn’t happen overnight.
Many stores take months to gain traction. Be patient, keep testing, and continuously improve your store and strategy.
FAQs: Create an Online Store
How much does it cost to create an online store?
Costs can vary depending on your platform and the features you select. You can start small with a budget of around $100–$300 for a domain, hosting, and basic setup, or spend more if you are using premium tools or hiring developers.
Do I need to know how to code to start an online store?
No! Most platforms like Shopify, Wix, and WooCommerce offer drag-and-drop tools that let you build your store without coding skills.
What is the best platform to create an online store for beginners?
For beginners, Shopify is a great all-in-one solution. If you prefer more control and lower long-term costs, WooCommerce on WordPress is also a solid choice.
How long does it take to build and launch an online store?
If you have your products and branding ready, you can launch a simple store in a few days. However, building a polished store with proper SEO, marketing setup, and testing may take 1–2 weeks.
Can I start an online store without inventory?
Yes! You can use a dropshipping model, where products are shipped directly from suppliers. Print-on-demand is another inventory-free option, especially for clothing and accessories.
How do I get traffic to my online store?
You can drive traffic using social media marketing, search engine optimization (SEO), email marketing, and paid ads. Focus on creating valuable content and engaging with your target audience.
What should I sell in my online store?
Start with a niche you understand that has consistent demand and manageable competition. Popular ideas include handmade products, digital downloads, fashion, home decor, or health items.
Is it possible to run an online store part-time?
Absolutely. Many entrepreneurs run online stores as a side hustle and scale them gradually. Automation tools for marketing, inventory, and fulfillment can help manage your store efficiently.
How can I build trust with new customers?
Use high-quality images, clear policies (shipping, returns), secure checkout, customer reviews, and professional branding. Adding a live chat or contact page also builds credibility.
What are the legal requirements to create an online store?
Depending on your location, you may need to:
Register a business name
Get a tax ID (if applicable)
Follow eCommerce regulations (privacy policy, terms, return policy)
Check your local laws to ensure compliance.
Conclusion
Starting an online store in 2025 may seem overwhelming at first, but with the right roadmap, tools, and mindset, it’s completely achievable even for total beginners. Whether you’re looking to build a side hustle, launch a brand, or create financial freedom, this step-by-step guide equips you with everything you need to begin confidently.
From choosing a profitable niche to marketing and scaling your store, every step brings you closer to your first sale and beyond. The most important thing? Start now. Don’t wait until everything is perfect. Learn as you go, stay consistent, and keep improving.
With low startup costs, user-friendly platforms, and global reach at your fingertips, there has never been a better time to create an online store and turn your ideas into income.

